Well what follows is my second draft of the rules. It incorporates all the suggestions and modifications incorporated to date, most significantly, the Canister Cone, a Rules Annex for the Cavalry rules disallowing breakthroughs and the recently discussed morale rules.
These are probably ready for a playtest now, so should anyone want to put their hand up, please email me (colonialwargamer AT gmail DOT com) for a copy you won't have to play copy-and-paste games with. For everyone else, please read on (please note that formatting is not great...):
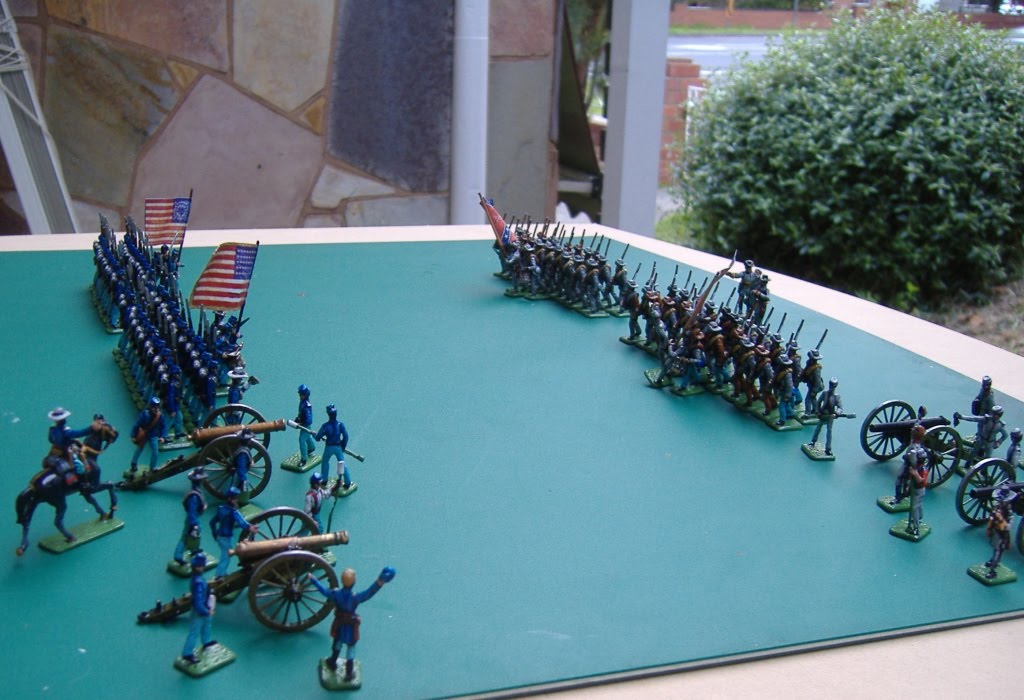
The American Civil War Game
by Charles Grant as reconstructed by Greg Horne
MOVEMENT
Line Infantry
In line 6”
In line and firing 4”
In column or open order 7 ½”
Charging 9”
Cavalry
Normal 9”
Battle move 12” (for each period of rest)
Charge 18”
Artillery
Team 6”
Manhandle 1”
Wagons
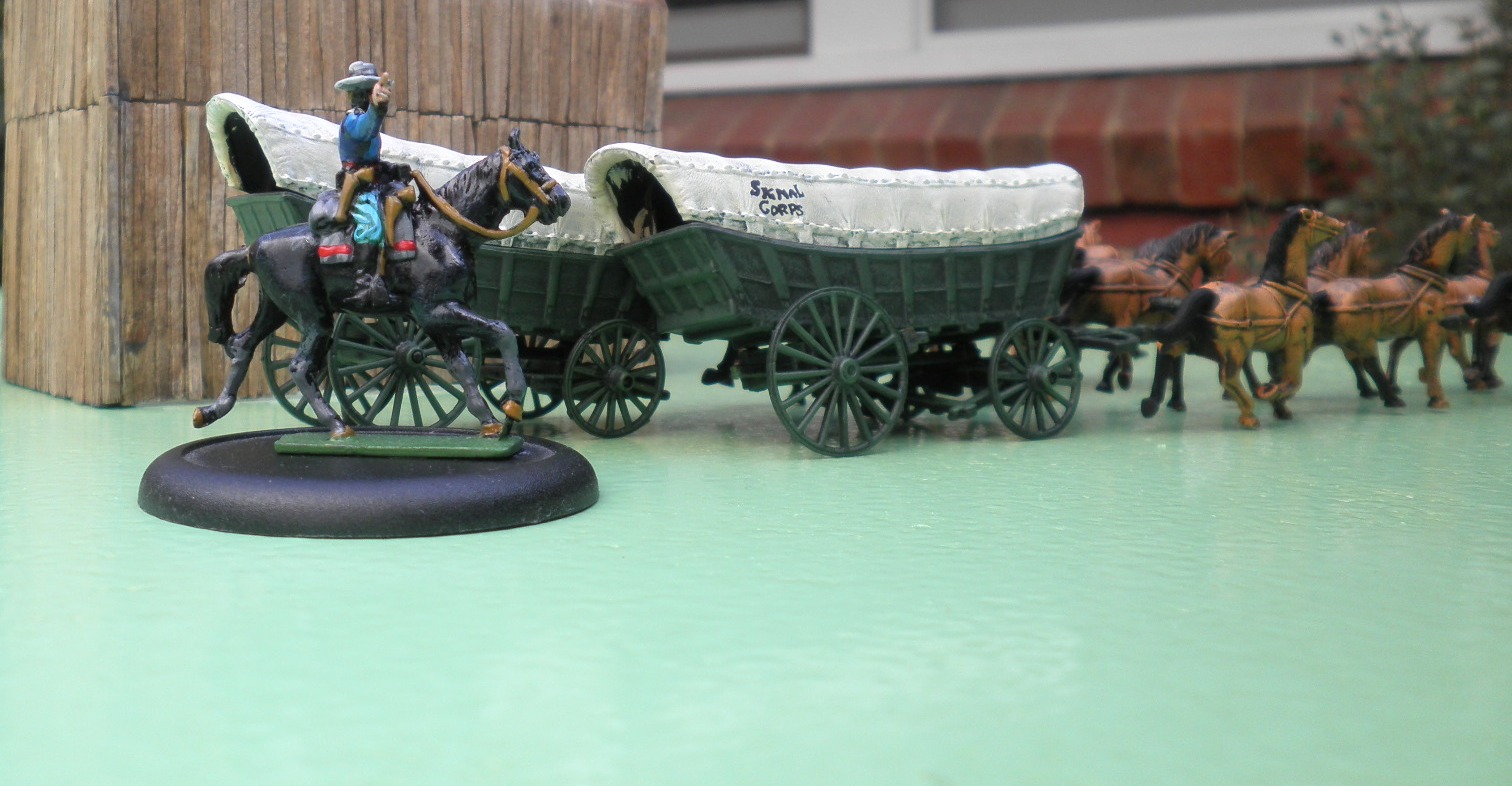
All types 6”
Barges
Up River 6”
Down River 9”
Canal 7 ½”
MOVEMENT AND TERRAIN
Hill contours
Uphill moves for all troop types are halved
On the level all moves are normal.
Downhill gives no distance advantage but note the impetus when charging.
Scenic Terrain
All movement is halved.
Woods
Line infantry half move
Light infantry normal
Heavy cavalry no movement
Light cavalry no movement
Artillery/Wagons no movement
Swamp/marsh
Infantry only, in open order at half move distance.
Rivers/streams
If fordable, infantry and cavalry take 2 moves while artillery and wagons take 4 moves.
Buildings
Maximum garrison of seven infantry figures per building section
RANGES
Musketry
Rifled Muskets 24”
Cavalry Carbines and Smoothbore Muskets 18”
Artillery
Ball 60”
Canister 24”
Howitzer 20” to 50”
ESTABLISHMENTS
Infantry 3 officers and 24 rank-and-file
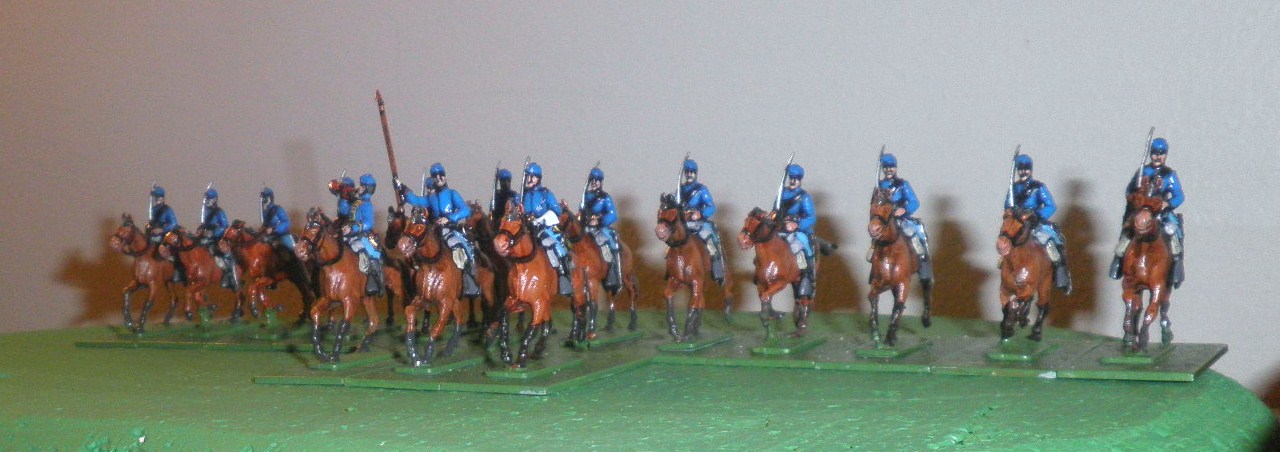
Cavalry 3 officers and 12 rank-and-file
Artillery Battery 3 officers (one mounted) and 8 rank-and-file (2 guns)
MUSKETRY
Players throw dice to determine who fires first in a mutual exchange. When the decision is a draw the firing is simultaneous.
The firer throws one dice for each group of 6 firers and deductions are made for range and cover as follows:
RANGE NORMAL VOLLEY FIRST VOLLEY
Open Cover Open Cover
0 to 8” 2 3 1 2
6 to 16” 3 4 2 3
16 to 24” 4 5 3 4
Each target group is numbered 1 to 6 and dice are thrown (one for each casualty caused) to determine which men are hit. In this way a figure may be hit more than once. If firing has not been simultaneous, the side to fire second does so replying with those figures left after removing the casualties inflicted on him. In the case of musketry from smooth bore muskets or cavalry carbines, the range bands above are reduced to 6, 12 and 18”.
SKIRMISHING INFANTRY MUSKETRY
Entire units or detachments may act as skirmishing Infantry.
Skirmishing infantry fire as individuals using a single dice for each figure firing.
Firing at organised bodies of troops (in to the brown).
Range 0 to 12” 5 or 6 kills
Range 12 to 24” 6 kills
Firing at specially selected individuals (picking off officers etc).
Range 0 to 12” 6 kills
Range 12 to 24” Cannot be done except for mounted officers when 6 kills
Firing at line infantry in cover (in houses, behind walls or earthworks)
Range 0 to 12” 6 kills (no picking off)
Range 12 to 24” nil
Open Order Infantry firing at Open Order Infantry:
In the open 0 to 12” 5 or 6 kills.
12 to 24” 6 kills.
In cover
0 to 12” 6 kills.
12 to 24” nil
Reduce ranges for smooth bore muskets and cavalry carbines to 9” and 18”.
THE CHARGE
Infantry
Infantry may only charge if they are in column, they may however move a normal move to contact. In the latter case they get none of the advantages of the charge. Rules for this are covered separately.
In column, the head of the column, that is the front rank, are moved directly forward to make contact with the enemy. The two men from each flank of the second rank are moved forward and outwards to meet the enemy to either side of the original column, while the centre men close up behind the centre of the column. Similarly, one man from each flank of the third and
fourth rank is moved outwards and forwards, the centre men closing up to their front and behind the remaining column up to the full extent of the 9” move.
Firing at a charging unit.
An advancing unit is fired on each move until the move in which the charge comes to contact. On this occasion, both sides throw a single dice. If the defender wins he fires at close range; if the attacker wins he comes to contact without receiving a volley.
Cavalry
The charge plays out over two moves.
In the first, the Cavalry move to within 18" of their target. If infantry, this takes them within Rifle range and naturally they take a volley. Casualties are removed as normal.
In the second, morale is tested for by the attacker. The charging cavalry and the defender dice off to see whether the defenders are cool enough to get off another volley. If all is well, the charge goes home and the cavalry are moved to contact.
Breakthroughs - If cavalry charge infantry who are formed less than 3 ranks deep and the distance is 12” or less, they may actually ride down the men and burst through.
Each cavalry figure moving up to contact throws one die.
• 2 ranks deep: throw of 5 or 6, breaks through.
• 1 ranks deep: throw of 4, 5 or 6, breaks through.
In the event of a breakthrough, the front figure is removed as a casualty. The second and third rank figures are moved back and to the side a total of 3”. The horsemen continue through to the extent of their charge move to contact another enemy if possible. They may veer up to 30 degrees to do this.
MÊLÉE
Mêlée occurs when two sides are in base contact either as a result of one or both sides charging or coming in contact within a
normal move. The mêlée is resolved by throwing dice for each individual combat in the following manner:
1 inf vs 1 inf: straight throw, highest wins 2 inf vs 1 inf: add 50% of 1 die for the 2 inf
1 cav vs 1 cav: straight throw 1 cav vs 2 inf: cavalry doubles throw
1 cav vs 2 inf: straight throw 1 cav vs 3 inf: infantry add 50% to throw of one die
1 cav vs 2 cav: latter adds 50% to throw of one die
1 inf vs 1 cavl 1d6 vs 2d6
It is not possible for the same troop types to fight more than 2 to1.
In all cases the higher throw (or score) wins.
Before mêlée can take place in a building, each attacker must first dice to see if they can break in. A 4, 5 or 6 means they have been successful, and can fight on equal terms. A 1, 2 or 3 means they remain outside and the occupants gain the +2 bonus.
The attacker always requires the 4, 5 or 6 to enter, even if a particular section of wall appears undefended.
Advantages in mêlée
Charging +1
Attacking downhill +1
Infantry behind a wall +1
Attacking exhausted troops who have had only one move of rest (see Exhaustion) +1
Attacking exhausted troops who have had no rest +2
Defending in a house against an attacker outside +2
The second move of mêlée
The first move of mêlée is quite formal, whether infantry vs. infantry, infantry vs. cavalry or cavalry vs. cavalry, there is little scope for independent movement. Musketry and artillery casualties inflicted by the defending unit which is contacted count towards the mêlée.
In the second move, however, the combat is free flowing. If both sides stand and continue the mêlée for a second move, then each throws a single die to determine who moves first. The winner may move 4 figures of infantry or 2 of cavalry into contact with the enemy. Once contacted, a figure is pinned, and may not be moved. The other side then does the same,
moving 4 figures of infantry and so on until all that can move to contact within the normal move distance have done so. The aim of each side will be to get as many advantageous combats as possible (that is 2 to 1). This mechanical system represents what is in reality a simultaneous flowing together of the two sides.
The second move of mêlée is conducted as the first except that the charging impetus of +1 is lost.
Duration of mêlée
A mêlée will last no more than 2 moves unless it is taking place in a built-up area, in which case it can continue for a further move. This is because fewer troops will actually be engaged at one time because of the defiles.
Deciding the outcome of a mêlée
The outcome of a mêlée may be decided by one of the following ways:
First move
• If one side loses twice the casualties of the other side including those casualties inflicted by artillery and musketry, then it must withdraw on the next move.
• If any casualties have been inflicted then the side in question must test for morale. If the result is bad, the unit must withdraw in the next move.
Second move
• If one side loses twice the casualties of the other in the mêlée then it must withdraw on the next move.
• If either side has bad morale then that side must withdraw on the next move.
• If neither of the above factors apply, then the result is a draw. In this case both sides will retire unless one is a defender who has written orders to hold ground.
Actions after a mêlée
Units that have had two moves of mêlée and have drawn the combat will fall back two normal moves and will then rest a further two moves before being allowed to take part in further offensive action. They may defend themselves of attacked.
If a unit is attacked by fresh troops during their four moves of exhaustion (two of retreat and two of rest) the attackers add 2 to each individual combat throw if the move is immediately following the fighting moves of the exhausted side, and 1 to each throw if the exhausted side has had a clear move without combat. If fighting is continued for another move, the additions are increased to 3 and 2 respectively.
If, however, part of ONE side has fallen back, a further move of combat takes place, and if at the end of this third move, the two to one rule does not apply, both sides fall back as before. The two to one rule is simple - if one side is outnumbered two to one it must surrender - this applying only after hand to hand fighting though.
MORALE
The morale of a unit is based on three factors. These are:
• Command and control
• Losses in action
• The imponderable
Command and Control is based on the number of officers and supernumeraries present. Each is worth a certain number of points:
Infantry
Colonel 3
Two other officers the first at 2, the second at 1
TOTAL 6
Cavalry
Colonel 3
Two other officers the first at 2, the second at 1
TOTAL 6
Losses in action affect morale as follows:
• One sixth of original rank & file strength lost: -1 point
• One quarter of original rank & files strength lost: -2 points
• On half of original rank & file strength lost: see 50% rule
The imponderable is determined by the throw of one ordinary die.
Morale is calculated by the following:
Command Points - Points for Losses + Throw of 1 die.
• If the result is 6 or better the morale is good, the unit continues with its task.
• If the result is less than 6 the morale is bad! The unit must fall back or behave as follows:
• If it is actually at grips, in a mêlée with the enemy, it breaks off the struggle and makes a complete move the rear.
• If it is advancing, or stationary and firing, it remains halted on the following move and cannot fire.
Once a unit has incurred a bad morale it must be tested on each successive move until it rallies or flees the field, but on each of the ensuing moves the requirement to rally increases by 1, i.e. 7, 8, 9 and then 10, after which it is considered dispersed.
The 50% Rule
When any unit is reduced to 50% or less of its rank and file it must break off from whatever it is doing and move directly to the rear in the next move. It will play no further part in the action.
The exceptions are:-
1. If it takes place in the first move of mêlée it may complete the second move of the mêlée.
2. If occupying houses, the unit may remain in the houses.
General’s rally
A general may rally a retiring unit (unless it is at 50% or less) by moving to the unit and attaching himself to it. When he reaches the unit a single die is thrown to see how many moves it will take before the unit is fit for action. Once this happens, the General may not leave the unit during the battle.
The Saving throw for Officers
A saving throw is allowed in the case of officer casualties. When an officer is hit in combat or from enemy fire, the player may throw a single die to save him. If he throws a 5 or 6 he is saved and continues in the battle; on a 1-4 he is dead and is removed.
Morale, Detachments and very Extended Lines
Troops in very extended order - skirmish lines of one rank with 1" separating each figure.
In the case of Skirmishers, any part of the line that finds itself within the range of enemy musketry or gunfire to either it's flank or rear must test for morale per the detachment morale rules. If the threat is at the maximum "range" band for the weapon type, or if the threat is cavalry within charge range, one pip must be deducted from the morale roll; if within the second band, two pips and; if within the nearest, then three pips must be deducted.
In the case of Detachments:
Detachments are in made of multiples of eight figures and an officer; this detachment size is based on breaking a 27-figure regiment down into a maximum of three sub-units.
1. A portion of a regiment may be detached but must include an officer. Once the detachment is separated from the main body by at least 6", it counts as a unit for morale. When a regiment is together, the officers count as normal for morale. When an officer is sent with a detachment, he counts as 3 points when the detachment tests morale, thus being more vulnerable. The main body counts the remaining officers as normal. % casualties are based on the detachments original strength.
2. If a sub-unit fails morale and retreats, it may rejoin its main unit if it can do so while retiring. Once it reaches the main body, it rejoins and adopts the morale status of the main unit.
3. Apart from the rally rules as per "The War Game", if a brigadier joins a unit he may replace any missing officer for morale purposes.
ARTILLERY
Roundshot (ball fired from cannon) range is 60 inches.
A measuring stick is used made from ½” square rod and calibrated in inches, 60” long.
It’s first 18” are coloured black. The next 24” are coloured in three lengths of 8” each of white, yellow and green. The next 12” are likewise broken into three bands, each 4” long and coloured white, yellow and green. The final 6” is broken into three lengths 2” long and the same colour scheme carries on.
Now, a roundshot pitched in the yellow part of the stick would pass through the subsequent yellow parts of the stick also as it bounced along it’s course. Likewise the white or green. To determine the part of the round-shot stick the ball is ricocheting along, throw a dice that has had it’s alternate faces painted in like colours to those of the measuring stick (ie, 1 and 2 are white and so on). The heads of figures covered by the coloured band are then diced for as follows to determine if they are casualties:
Near Group 3, 4, 5 or 6 kills
Mid Group 4, 5 or 6 kills
Far group 5 or 6 kills
Range 48-60” 6 kills
Each figure is thrown for individually
Counter-battery fire
Counter-battery fire uses the system above except that when working out the effect on the gun it is done as follows:
If the gun is hit a single die is thrown and the result from 1 to 6 is noted. When the accumulated total reaches 10, the gun is reduced to firing on alternative moves. When 20 is reached the gun is destroyed.
Because of the reduction in velocity with distance however, damage is reduced by 1 from 36” to 48”, and by 2 at 48” or more.
Canister
The Canister cone is an elongated equilateral triangle, 24” long from base to apex with a base 5” wide. It is internally sub-divided into three units, that closest to the apex being 5.5”, the middle unit being 6.5” and the Far unit being 12” long.
The device is placed with its apex at the muzzle of the gun.
Figures within the device are diced for as follows:
Near 4, 5 or 6 kills; Middle 5 or 6 kills and; Far 6 kills
Howitzer (shell)
Howitzer range is 20” to 50”. The centre of impact is worked out using the Shell Burst Indicator (SBI) which is shown in the Rules Annex. The SBI has 5 sectors numbered 2 to 6. The centre sector is numbered 6 and the outer sectors clockwise from 5 to 2.
The firing procedure is to place the SBI on the chosen target with the centre section over the point of aim and with the 5 section furthest from the gun. A die is thrown to show area of impact (1 is a misfire). Dice are then thrown for the effect of each figure within the sector in which the shell impacted. A 1,2 or 3 has no effect while a 4,5 or 6 kills.
It can be seen from the above that with the device a 5 is an overshoot, a 3 an undershoot and 2 and 4 are errors to the left and right. Nevertheless, casualties still occur if troops are in the particular sector.
For counter-battery fire the procedure and accumulation of hits is as for roundshot.
Round Shot effect on houses
When a house is hit by round shot a single die is thrown with the following results:
Die Roll
Range 1 and 2 3 4 5 6
0-36” No Penetration Penetrates, Kills 1, Stops Penetrates, Kills 1, Stops Penetrates, Kills 2, Goes on Penetrates, Kills 3, Goes on
36-48” No Penetration No Penetration Penetrates, Kills 1, Stops Penetrates, Kills 2, Goes on Penetrates, Kills 2, Goes on
48-60” No Penetration No Penetration No Penetration Penetrates
Kills 1
Stops
Penetrates
Kills 1
Stops
Houses are destroyed by an accumulation of hits on the target until a total of 20 points are achieved using the above table in the same manner as with counter-battery fire. At this point, the body of the house is removed to leave a ruined shell.
With howitzer fire the same accumulated score system is used but the effect and casualty systems are different. The SBI is placed on the house if that is the target and a die is thrown to see if a hit has been achieved. If a hit on the house occurs then a second die is thrown to determine the effect:
Throw of 1,2 or 3 no casualties
4 1 killed
5 2 killed
6 3 killed
In addition to determining the number of men lost, the hits are added as for roundshot to determine the effect on the house. (This includes 1, 2 and 3 which count towards damage although killing no men. When the total reaches 10 the house is set on fire. All the troops in the house must leave retiring at least 3” away from the fire. The house will burn for 15 moves during which time no troops may move within 3” of the house.
When a house is in 2 sections there is a strong chance that the second section will catch fire. In each move that the first section burns a die is thrown to see if the second section catches: 3, 4, 5 or 6 means that the second section catches fire: 1 or 2 it does not.
Model flames are placed on the building for the duration of the fire. At the end of the 15 moves the flames are removed as is the building to reveal the ruins.
Rules Annex
Herein shall be placed those rules which may be used only with the agreement of both players. They are either the authors own quirks or depart significantly from the spirit of the original Grant Rules in the light of information available today that may not have been available in 1957!
Sharpshooters
Super skirmishers.
May only operate in open order.
May only be present in detachment size - ie, an officer and eight privates.
Are subject to the morale rule for detachments.
May add one to their dice rolls when shooting vice the Skirmishing Infantry Musketry Rules.
Zouaves
Assault Infantry - rules pinched from the Supplementary Rules for Grenadiers.
May add one to their dice roll in melee.
No reduction for the Morale Index for rank and file casualties until losses have reached 25% (6 figures), when 1 is deducted from the throw for morale.
Cavalry
No breakthrough rule allowed. Cavalry charge to contact, but may not break through defending infantry. This rule made cavalry unhistorically strong and encourages players to use them like a European General might.
Artillery
This version of the rule makes use of the so-called round-shot measuring sleeve.
Roundshot (ball fired from cannon) range is 60 inches.
A measuring stick is used made from ½” square rod and calibrated in inches. Around the stick is wrapped a 4” long sliding scale sleeve made of card. The stick is positioned on the line of fire from the gun to target and the sleeve moved until it is over the desired target. Two differently-coloured dice are thrown; one is designated plus and the other minus. The sleeve is moved towards or away from the target according to the difference in scores of the two dice. There is no movement of the sleeve if the throws are equal. The heads of figures covered by the sleeve are then diced for as follows to determine if they are casualties:
Range
0-24” 3, 4, 5 or 6 kills
24-36” 4, 5 or 6 kills
36-48 5 or 6 kills
Range 48-60” 6 kills
Each figure is thrown for individually
Counter-battery fire
Counter-battery fire uses the system above except that when working out the effect on the gun it is done as follows:
If the gun is under the sleeve a single die is thrown and the result from 1 to 6 is noted. When the accumulated total reaches 10, the gun is reduced to firing on alternative moves. When 20 is reaches the gun is destroyed.
Because of the reduction in velocity with distance however, damage is reduced by 1 from 36” to 48”, and by 2 at 48” or more.






.JPG)




.jpg)